 I have recently created some paper fans in pastel colours with wrapping paper for the talented photographer of Gretel Photography for an Easter themed photo-shooting backdrop with little kids.
I have recently shared a DIY tutorial on how to create paper fans with tissue paper here however this time I tried to create the same paper fans with wrapping paper and I was very happy with the results. Not only wrapping paper is thicker so it creates a better structure, but you also have more choices on patters and colours.
So in case you would like to try to create some paper fans on your own, here is a step by step guide to DIY. I hope you like it.
Materials

- Wrap paper on the colours of your choice
- Glue gun
- Scissors
Directions:
1. Start by folding the wrap paper every 3 cm as shown in the picture below:
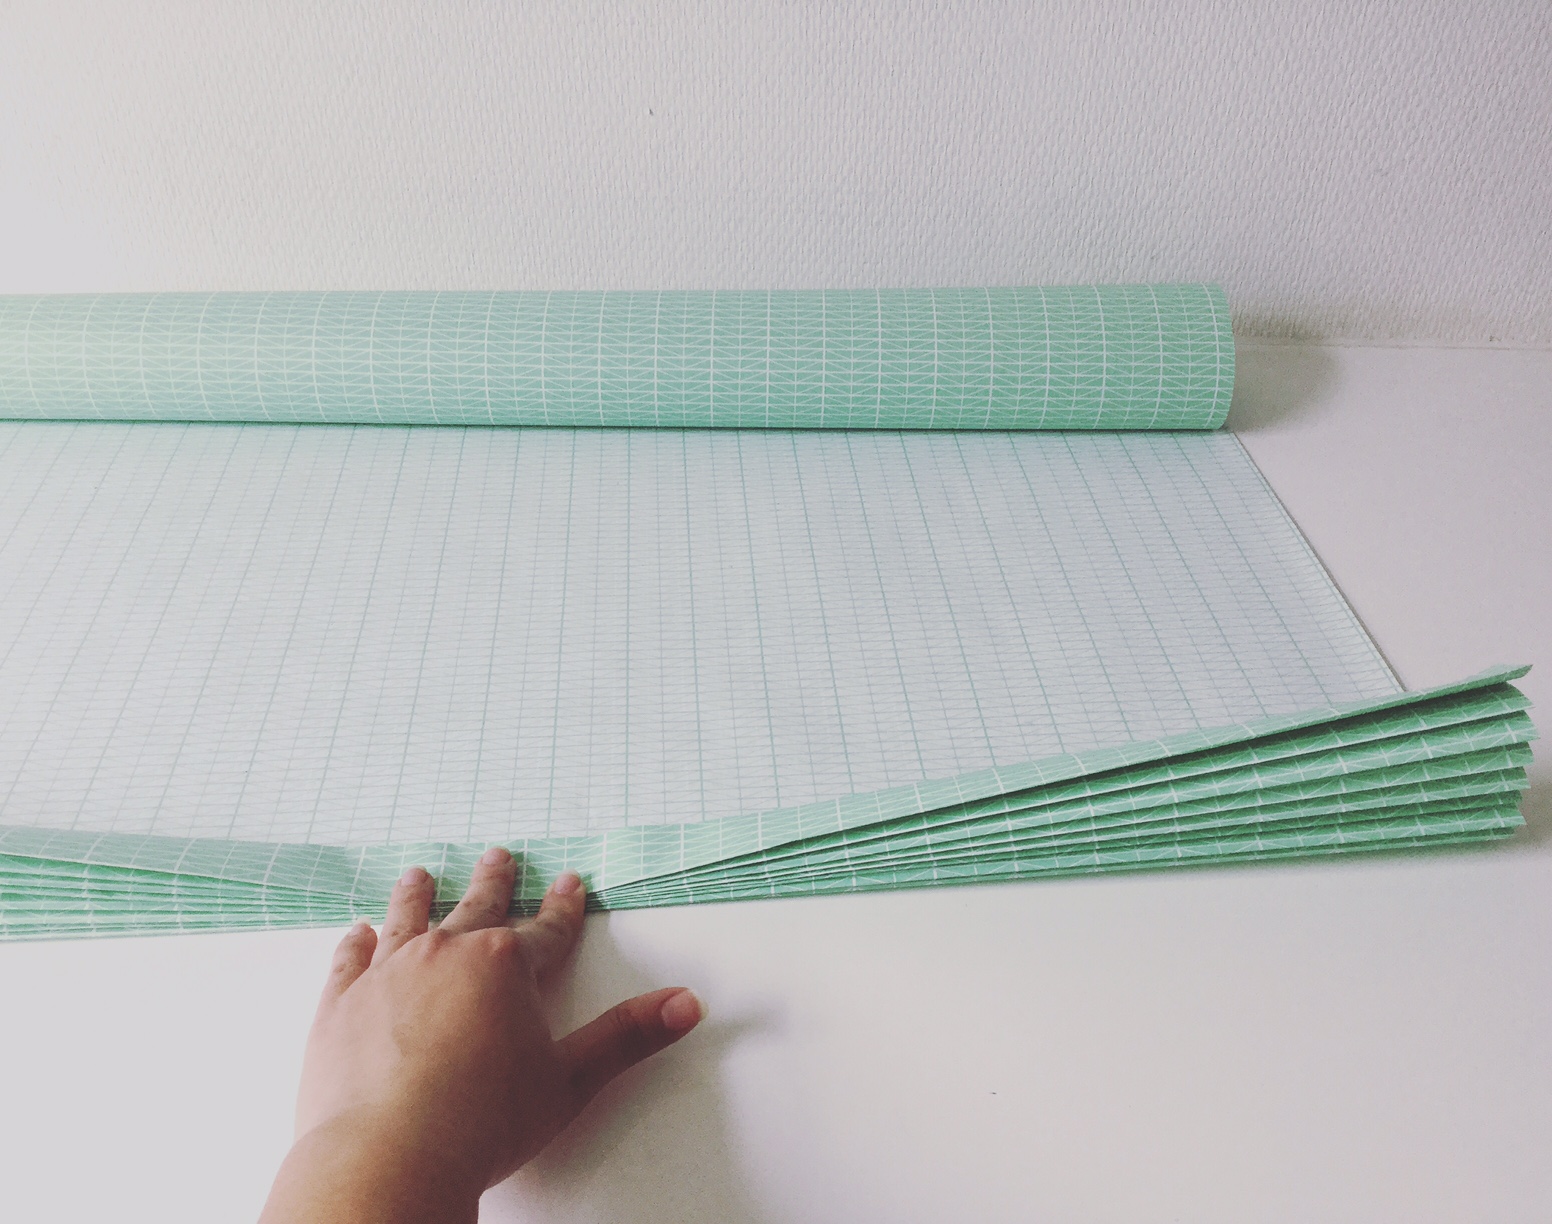
2. Keep folding until all the roll is finished as below:

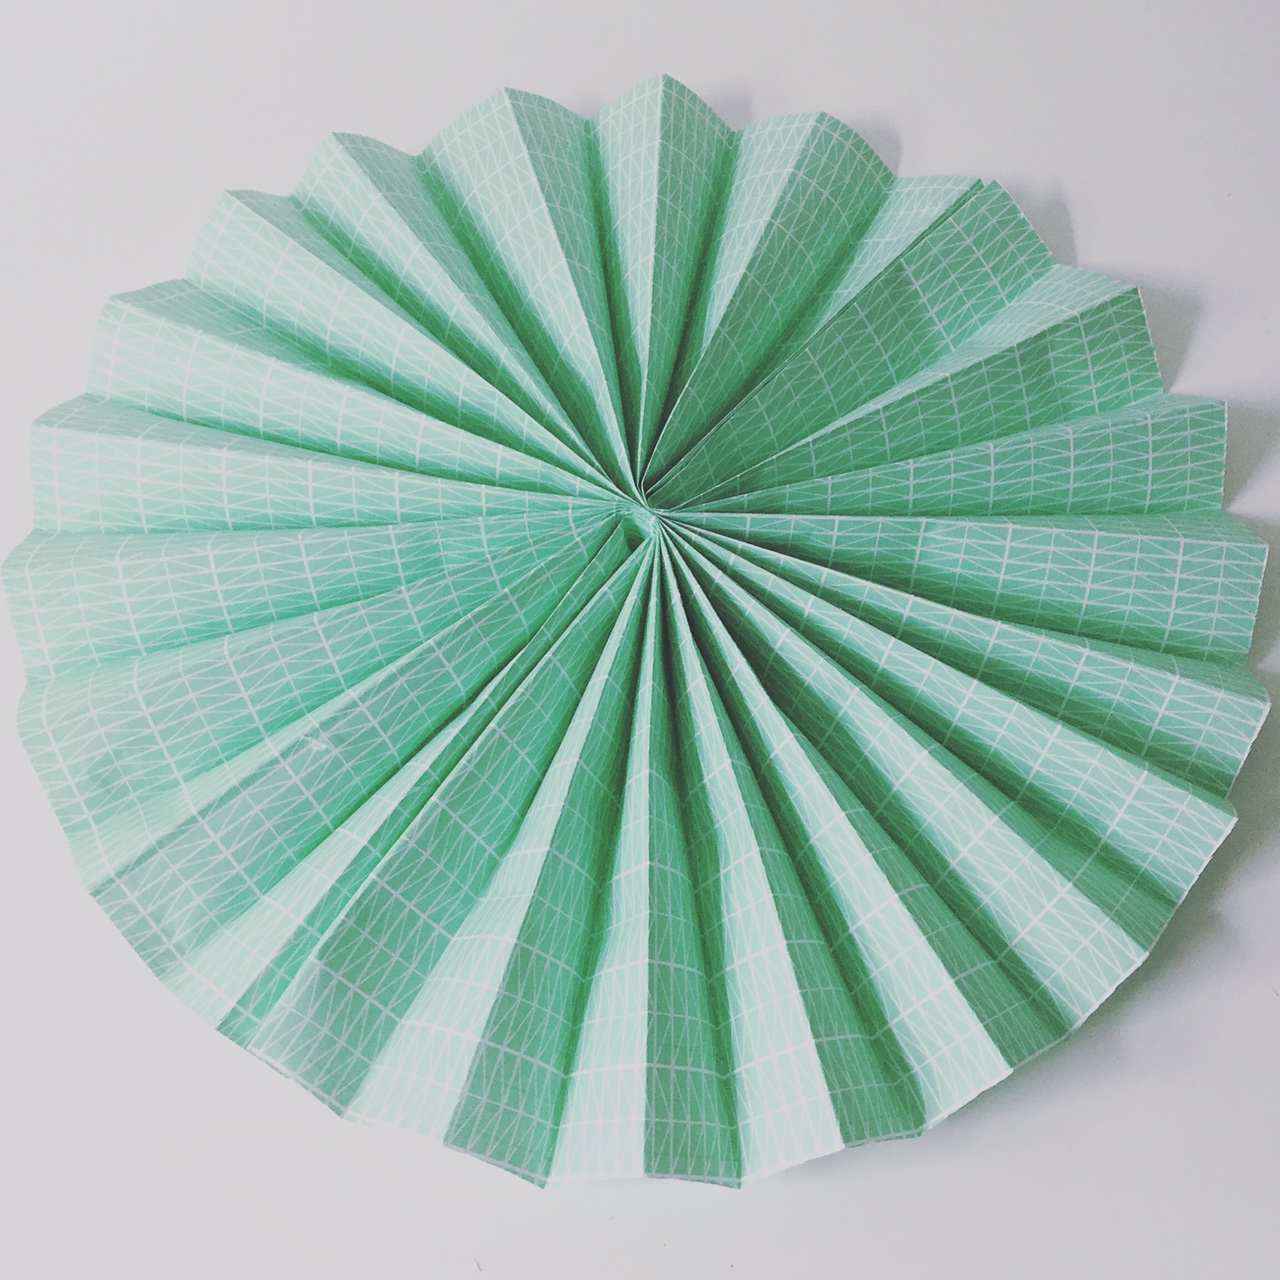
3. Now find the middle of the paper and fold one side on top of the other one.

4. Paste both sides together with the glue gun to form a fan shape.

5. Once pasted it should be rounded and look like the one below:
6.Repeat all the steps above to create the other paper fans in different sizes and colours.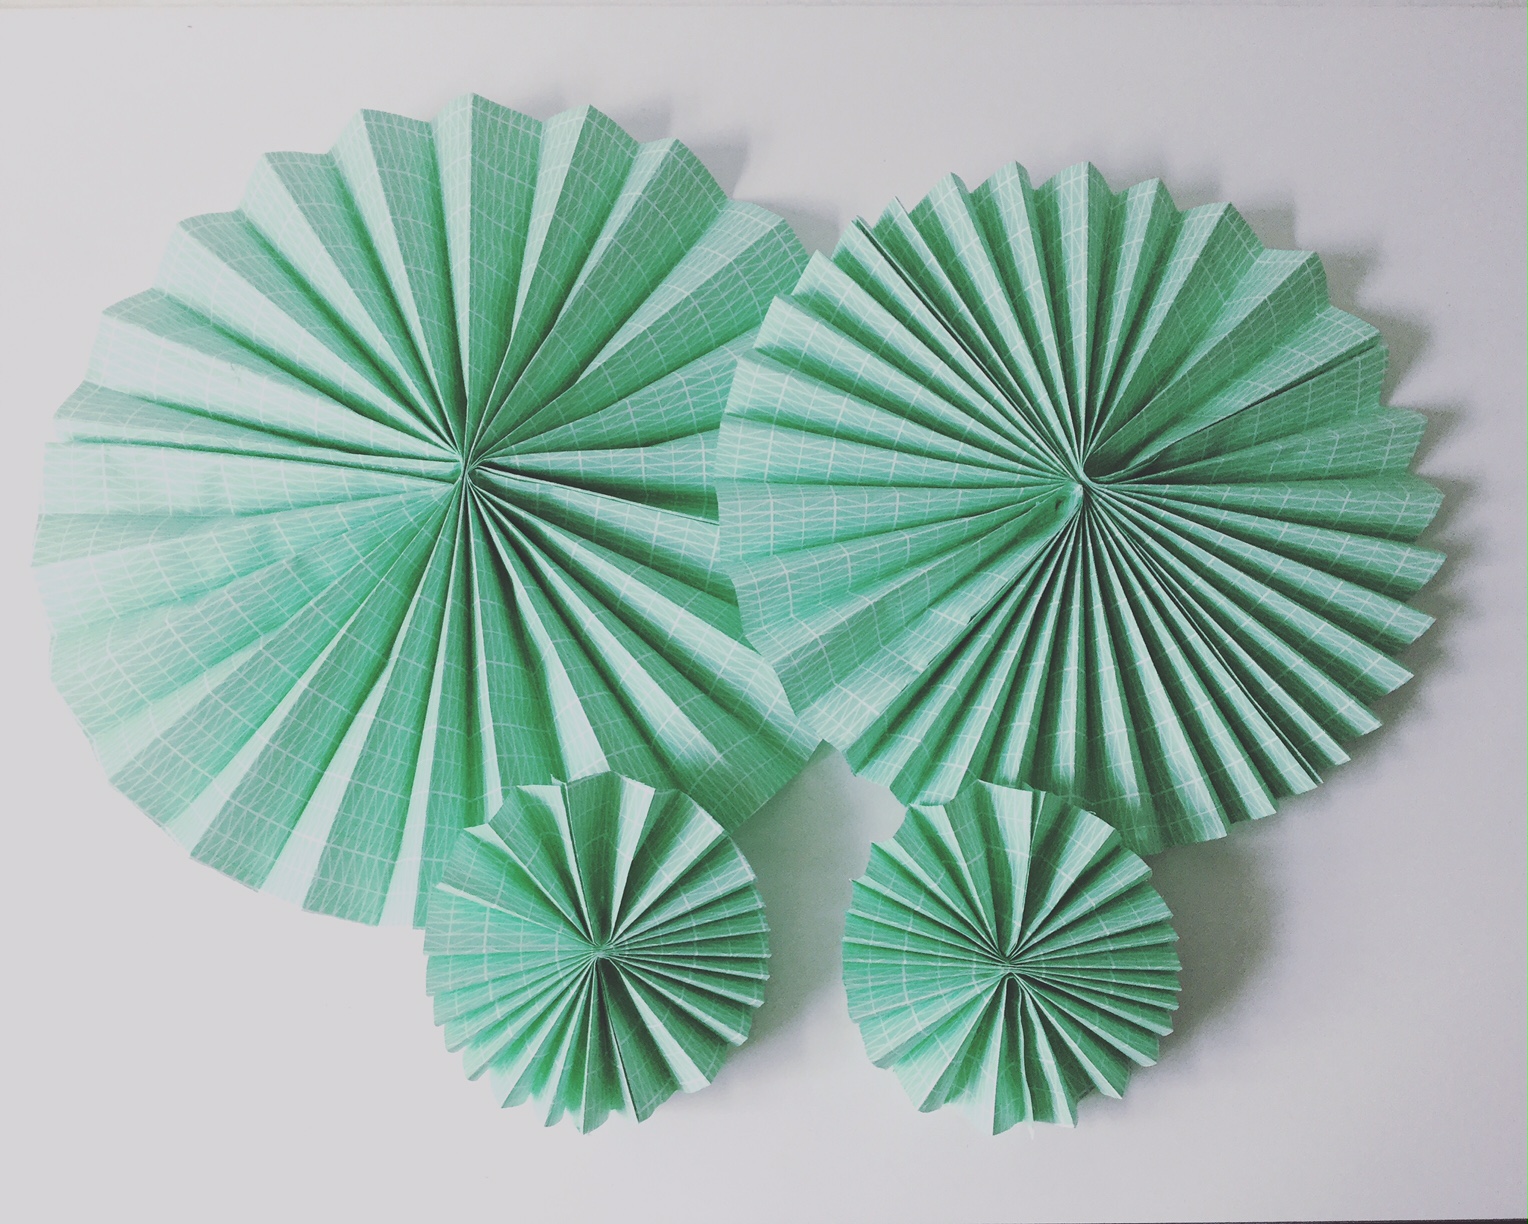
Get from us the Best DIY projects for Easter or any theme party! Get in touch with The Party Ville to plan your next event!

Leave a comment