
We were busy last days creating an amazing dinosaur piñata for a little boy’s dinosaur birthday party. Pintas are a tradition that comes from Mexico for parties, specially for birthday parties. Kids love it as they get the chance to hit on something until it breaks without getting in trouble ;). At the end they get candies and its all a competition to see who is the strongest kid who can break a piñata and who gets the most candies.
Luckily, this Mexican tradition has become popular in Luxembourg lately and more and more kids wish to have a piñata on their birthday parties respectively of their nationality. So at The Party Ville we were honoured when we were asked to create a dinosaur piñata and thought about sharing the DIY tutorial with you, so you can see how easy it is to create one on your own.
So here is the DIY tutorial, step by step to create your own dinosaur piñata:
Materials:
-Water
-Flour
– Cardboard
-Egg carton
– Newspaper
– Hot Glue Gun
-2 Latex Balloons – 1 small and one big
-Tissue/Crepe Paper in different colours
Directions:
1. Start by inflating both latex balloons, the small one will be used for the head of the dinosaur and the big one for the body.
2. Cut the newspaper into squares of around 10 x 10cm, then mix the flour with the water until you get a paste with a similar consistency to glue.
3. Paste the paper squares with the water/flour glue mix to the balloons until you have covered them completely. Let them dry for a few hours and add a second, third and fourth layer.
4.Cut the crepe paper into small lines as seen on the picture below, make sure you leave at least 1 cm without cutting.

5. Create the legs to the dinosaur by adding some cardboard rolls, and cutting lines in the edges as seen on the picture below, paste with some tape.
6. Create the tail of the dinosaur by adding some cardboard sheets to one side of the big balloon, securing it with tape. Then paste the crepe paper to the balloons covered with newspaper with the water/flour glue mix.

7. Pop the latex balloon inside the body of the dinosaur and create the neck of the dinosaur by adding some cardboard pieces to the top side of the body opposite from the tail of the dinosaur to create the neck,as seen on the picture below. Tape the cardboard or glue it with the hot glue gun.

9. Create the face of the dinosaur by placing some newspaper balls next to the balloon covered in newspaper, then tape them.
10. Cover the face of the dinosaur with crepe paper, then decorate with a cardboard crown and horns done from the egg carton. Then cover them in yellow crepe paper as seen below.

11. Add the head to the body of the dinosaur by making a hole on the head and pasting the cardboard pieces inside the whole.

12. Paste the cardboard pieces of the head to the body, and the ones of the body inside the head, paste them with tape or hot glue.
13. To create the feet of the dinosaur simply cut the shape of the feet from a cardboard and paste it into the extreme of the legs. Then cover them with crepe paper.

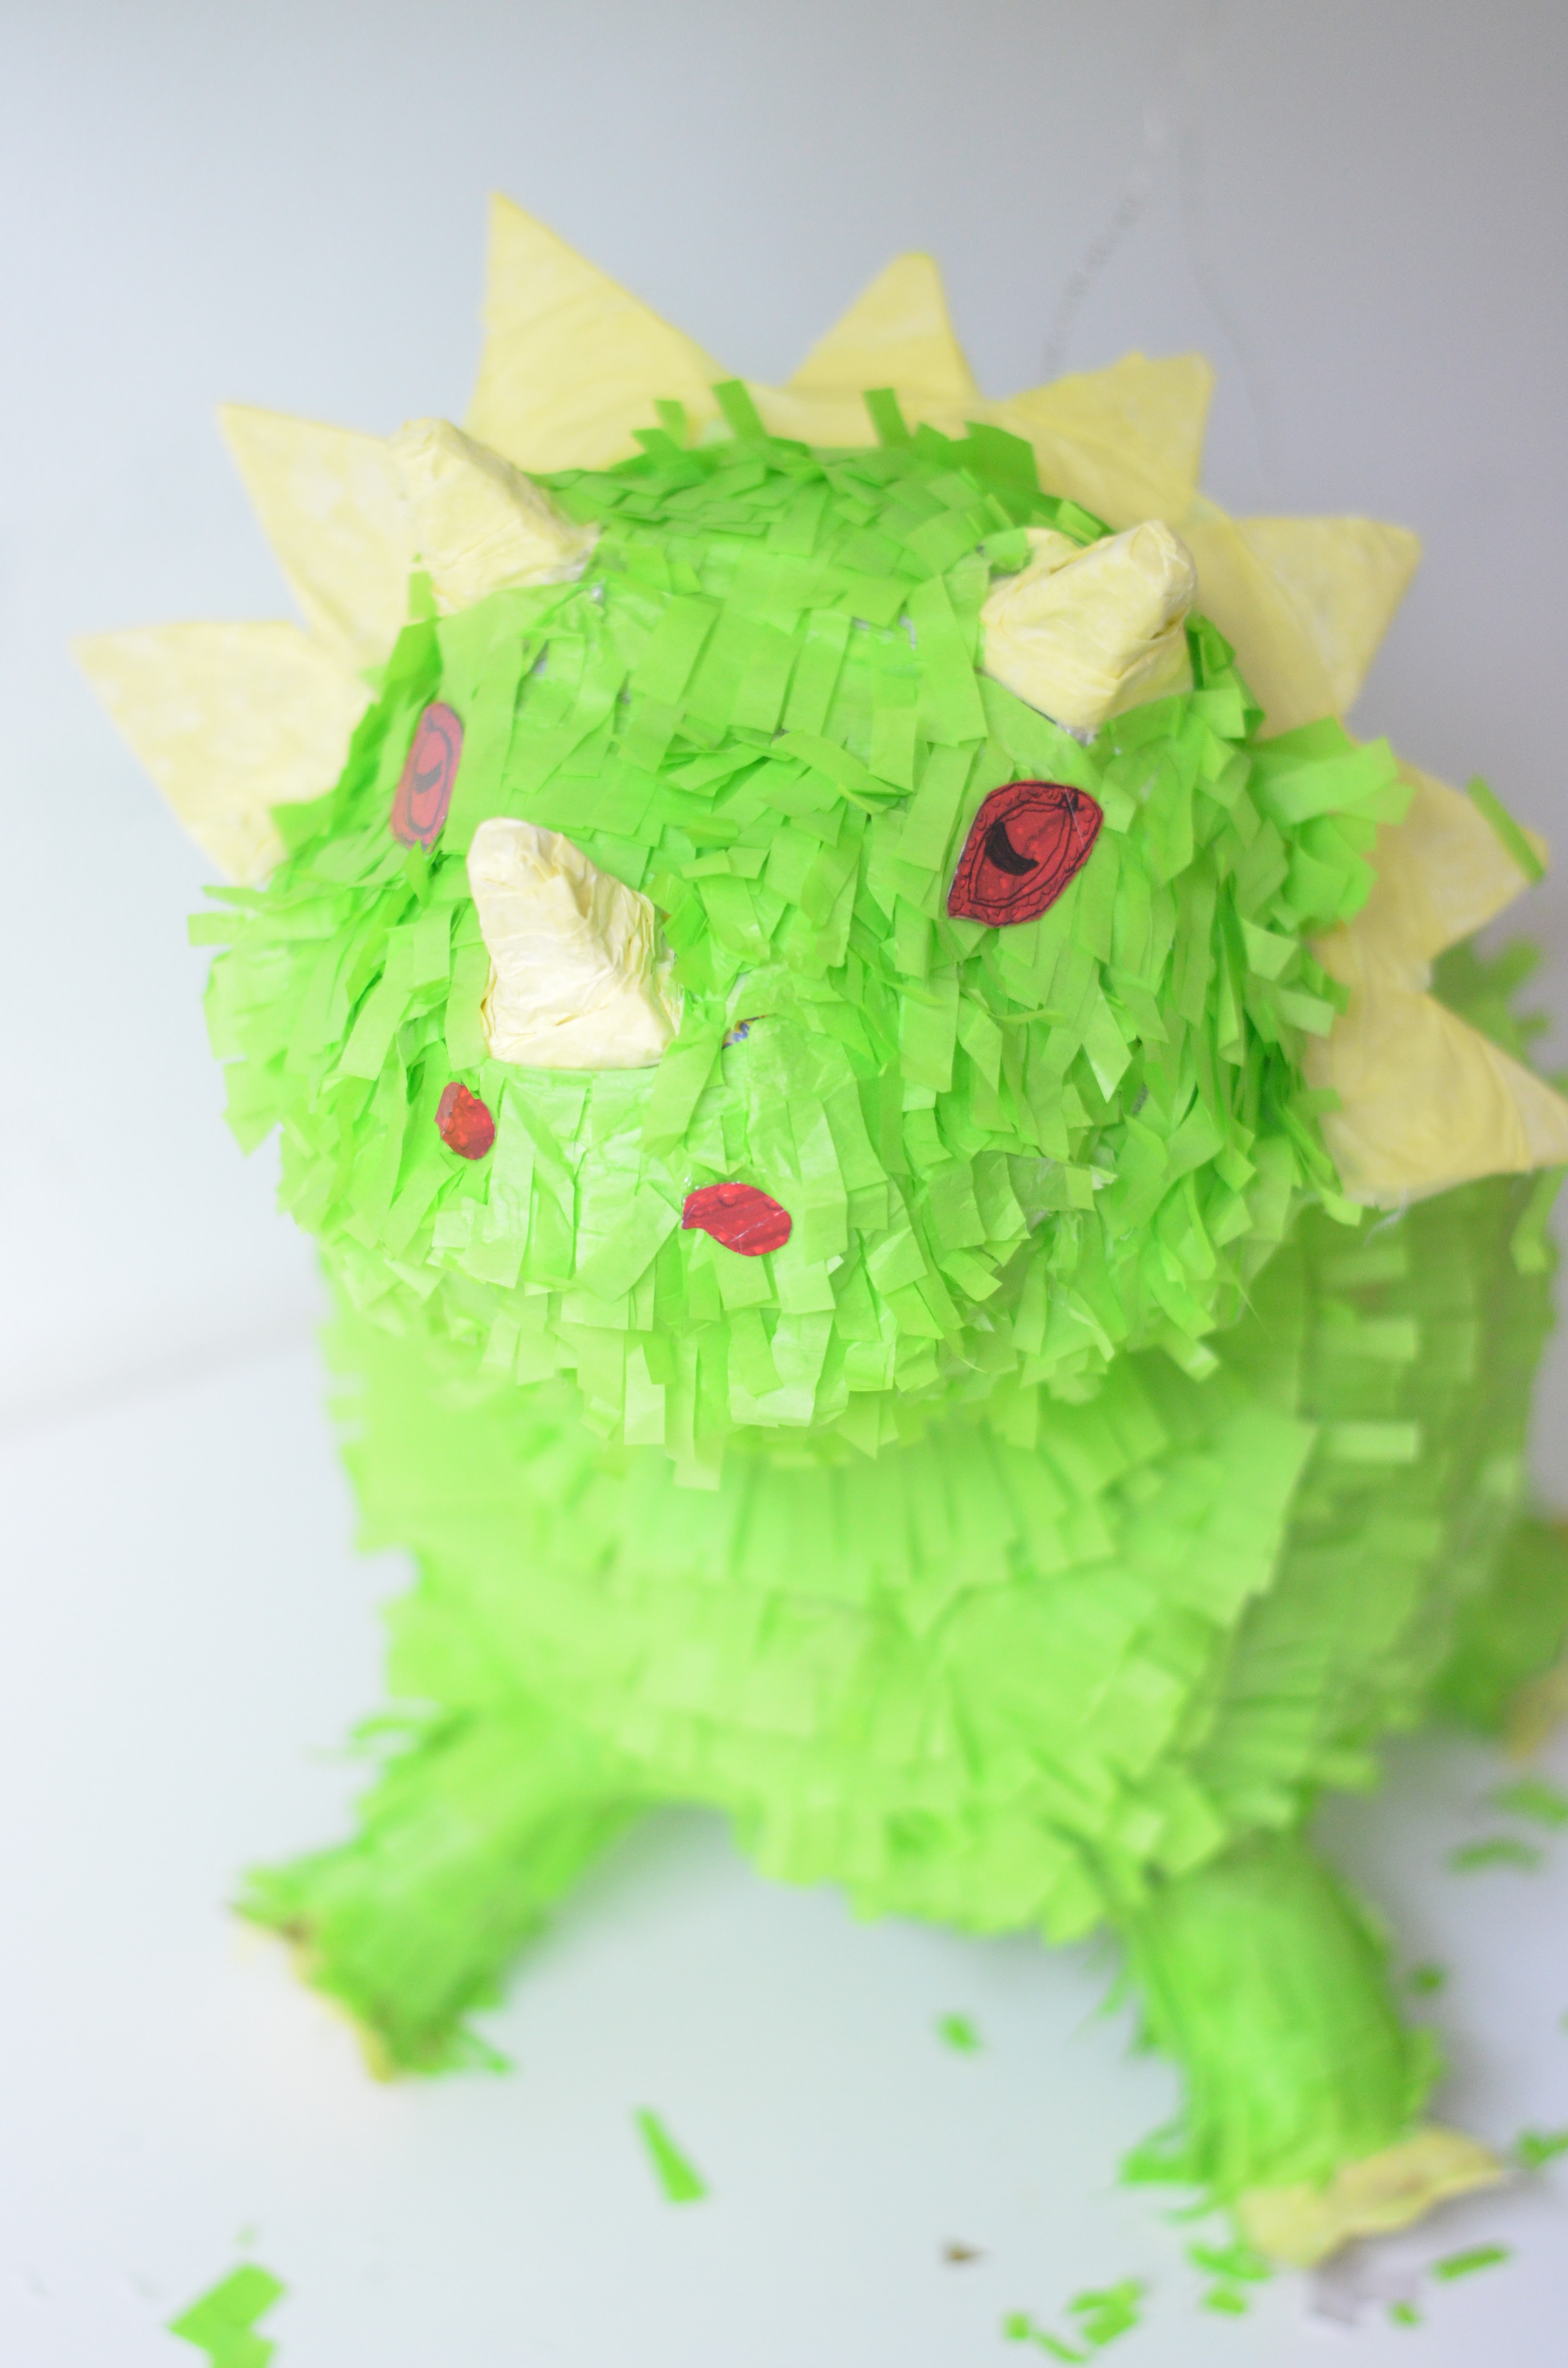
14. Create the eyes and nose holes of the dinosaur with a different colour of crepe paper or cardboard and paint the details with a black pen or marker.

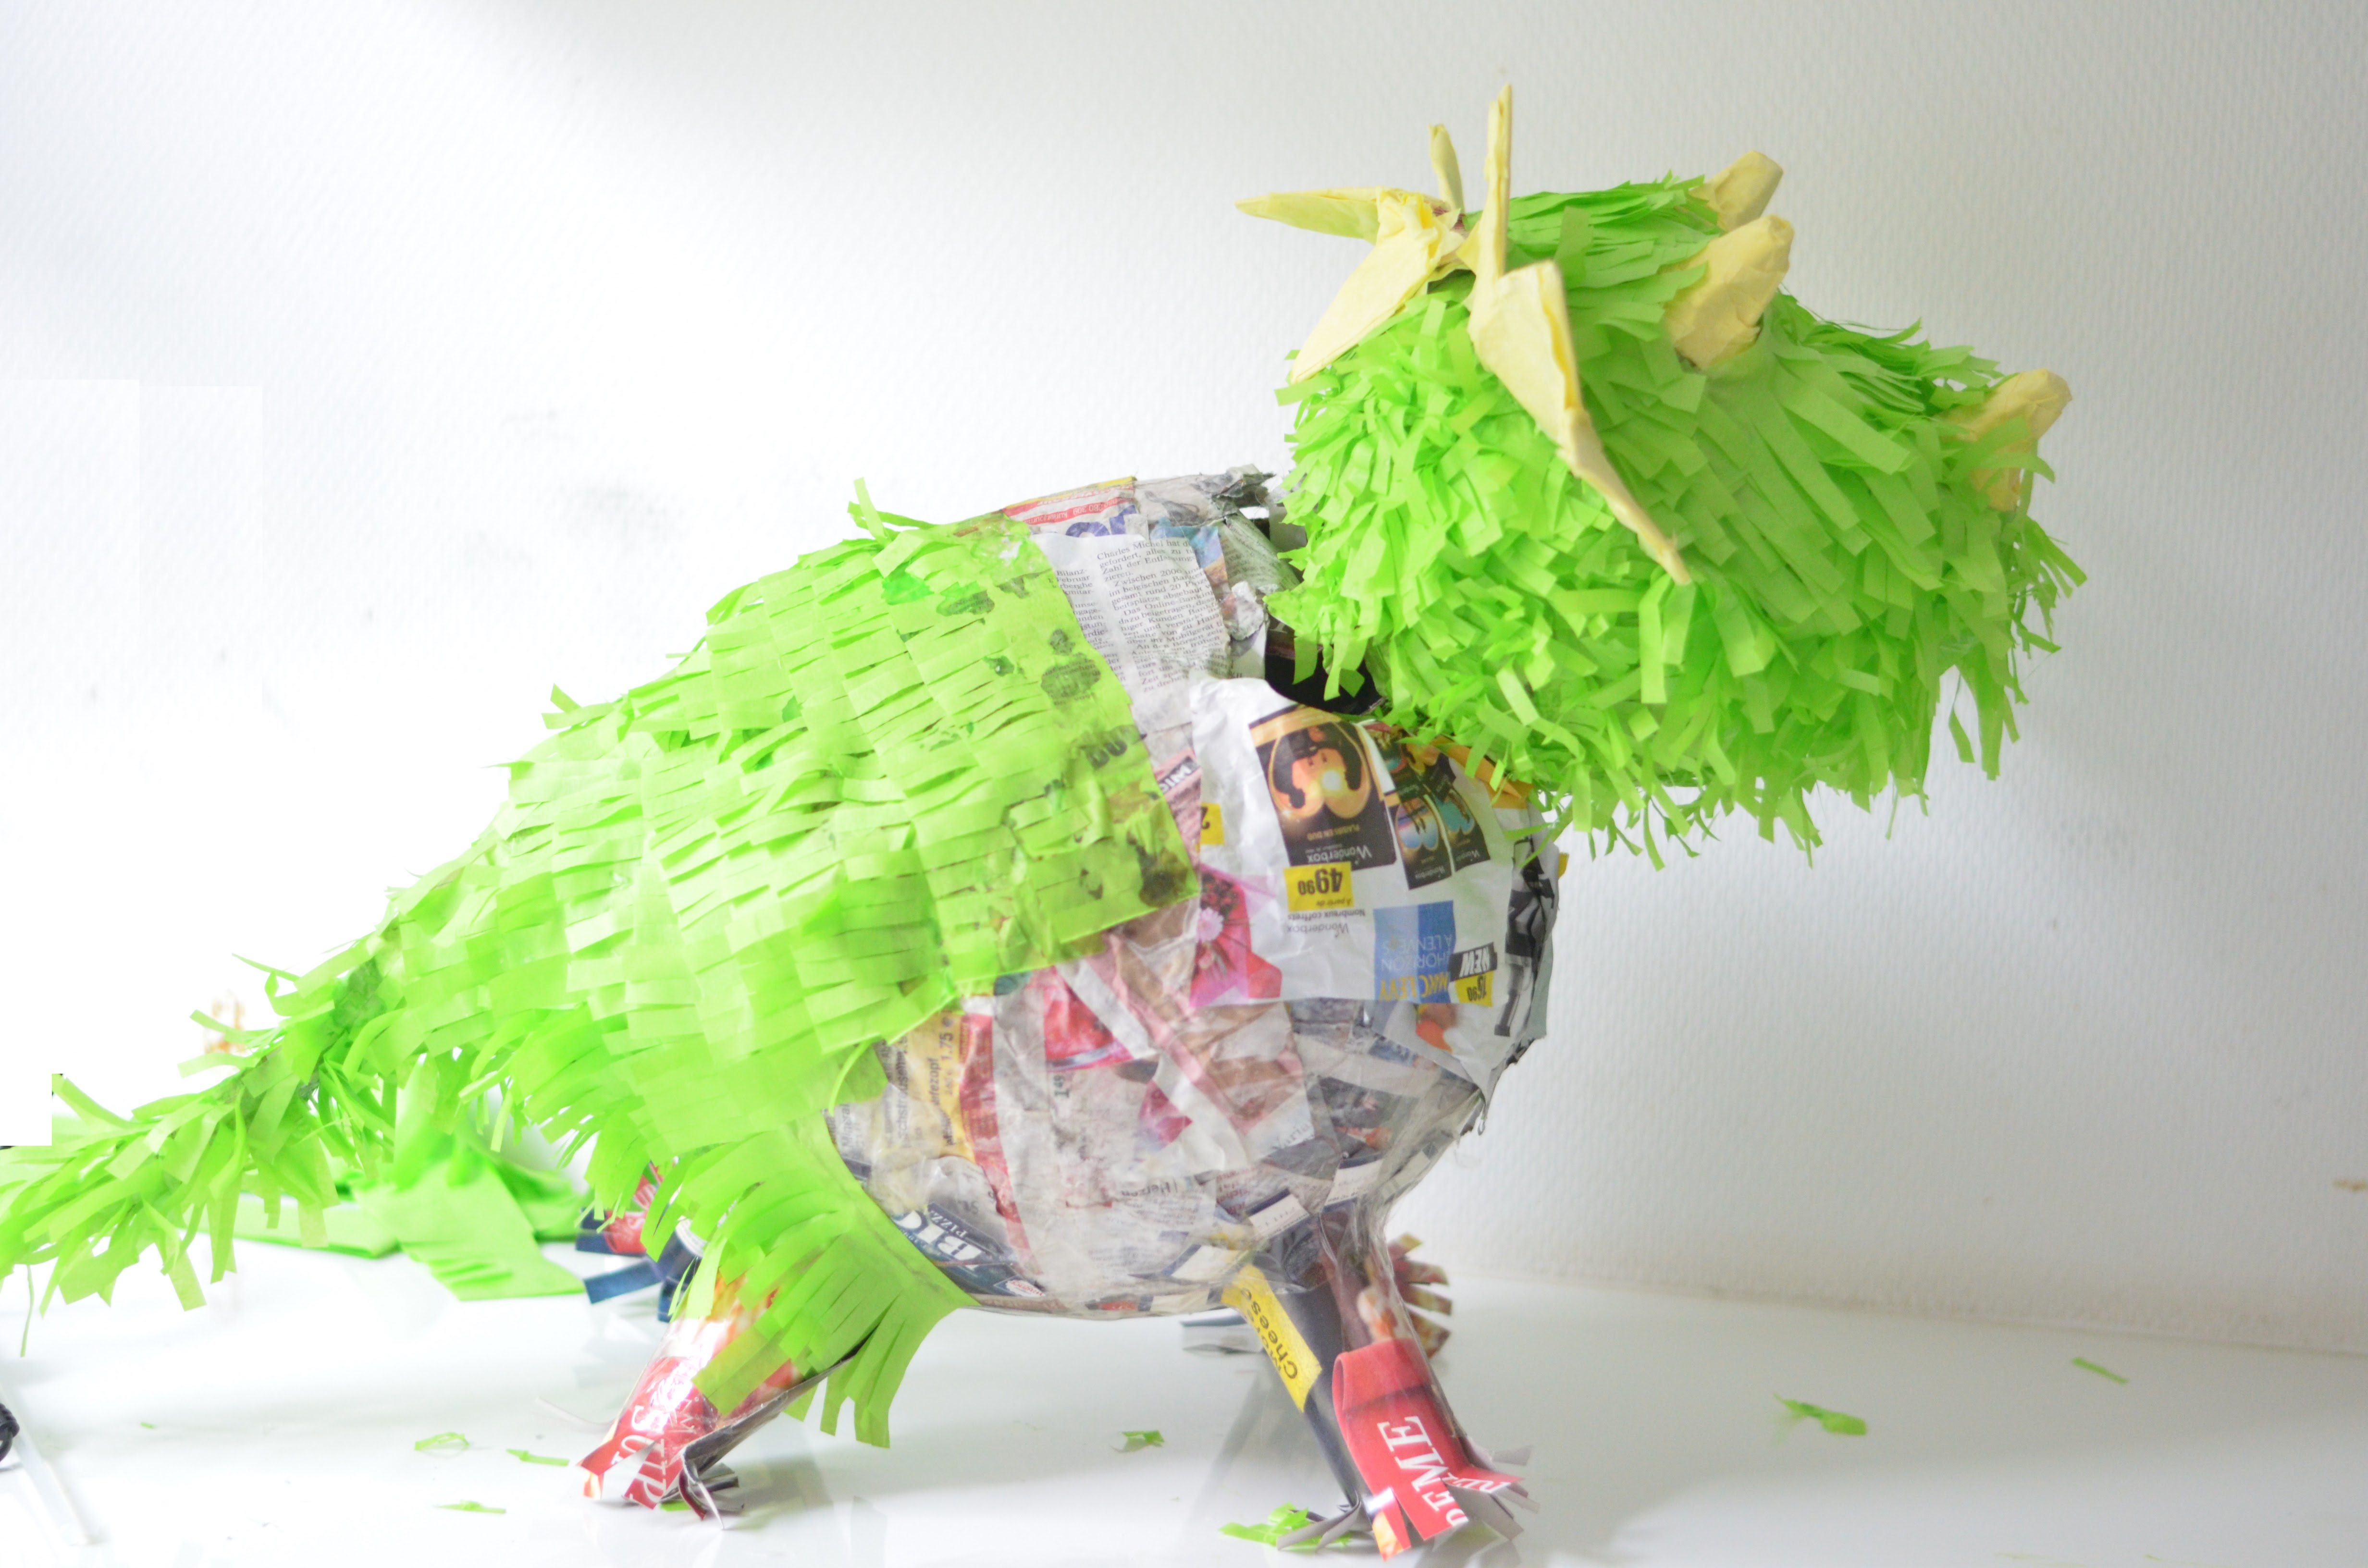
15. Finally add the details of the tails by pasting triangles covered in tissue paper along the body and the tail of the dinosaur.
And you are finished! Your dinosaur should look like this:


Get from us the Best DIY projects for parties ! Get in touch with The Party Ville to plan your next event!

Leave a comment