
For Ben’s 2nd birthday I wanted to create a very cute cake for someone of his age, to design this cake I thought about what are the things that the little boys at that age like and I realized that it had to be toys. Boys of that age love to play with little cars and trains, so why not integrate this toys into the cake.
As you might be already thinking, to create a car or a train in fondant must be very complicated, but nobody said that all the decorations needed to be handmade or eatable, so what I did was to buy some car little toys and just add them to the cake. For the trains, I just bought some marshmallows covered in colors with some animal’s figures and simply added the train weeks with black fondant to them.
This cake was very easy to do, with a bit of creativity and imagination, for the rest, I just used the Banana cake recipe, which you can find on my previous post here. Below you can see a guide step by step on how to do a tier fondant cake with pictures and of course the final result. I hope you enjoy!
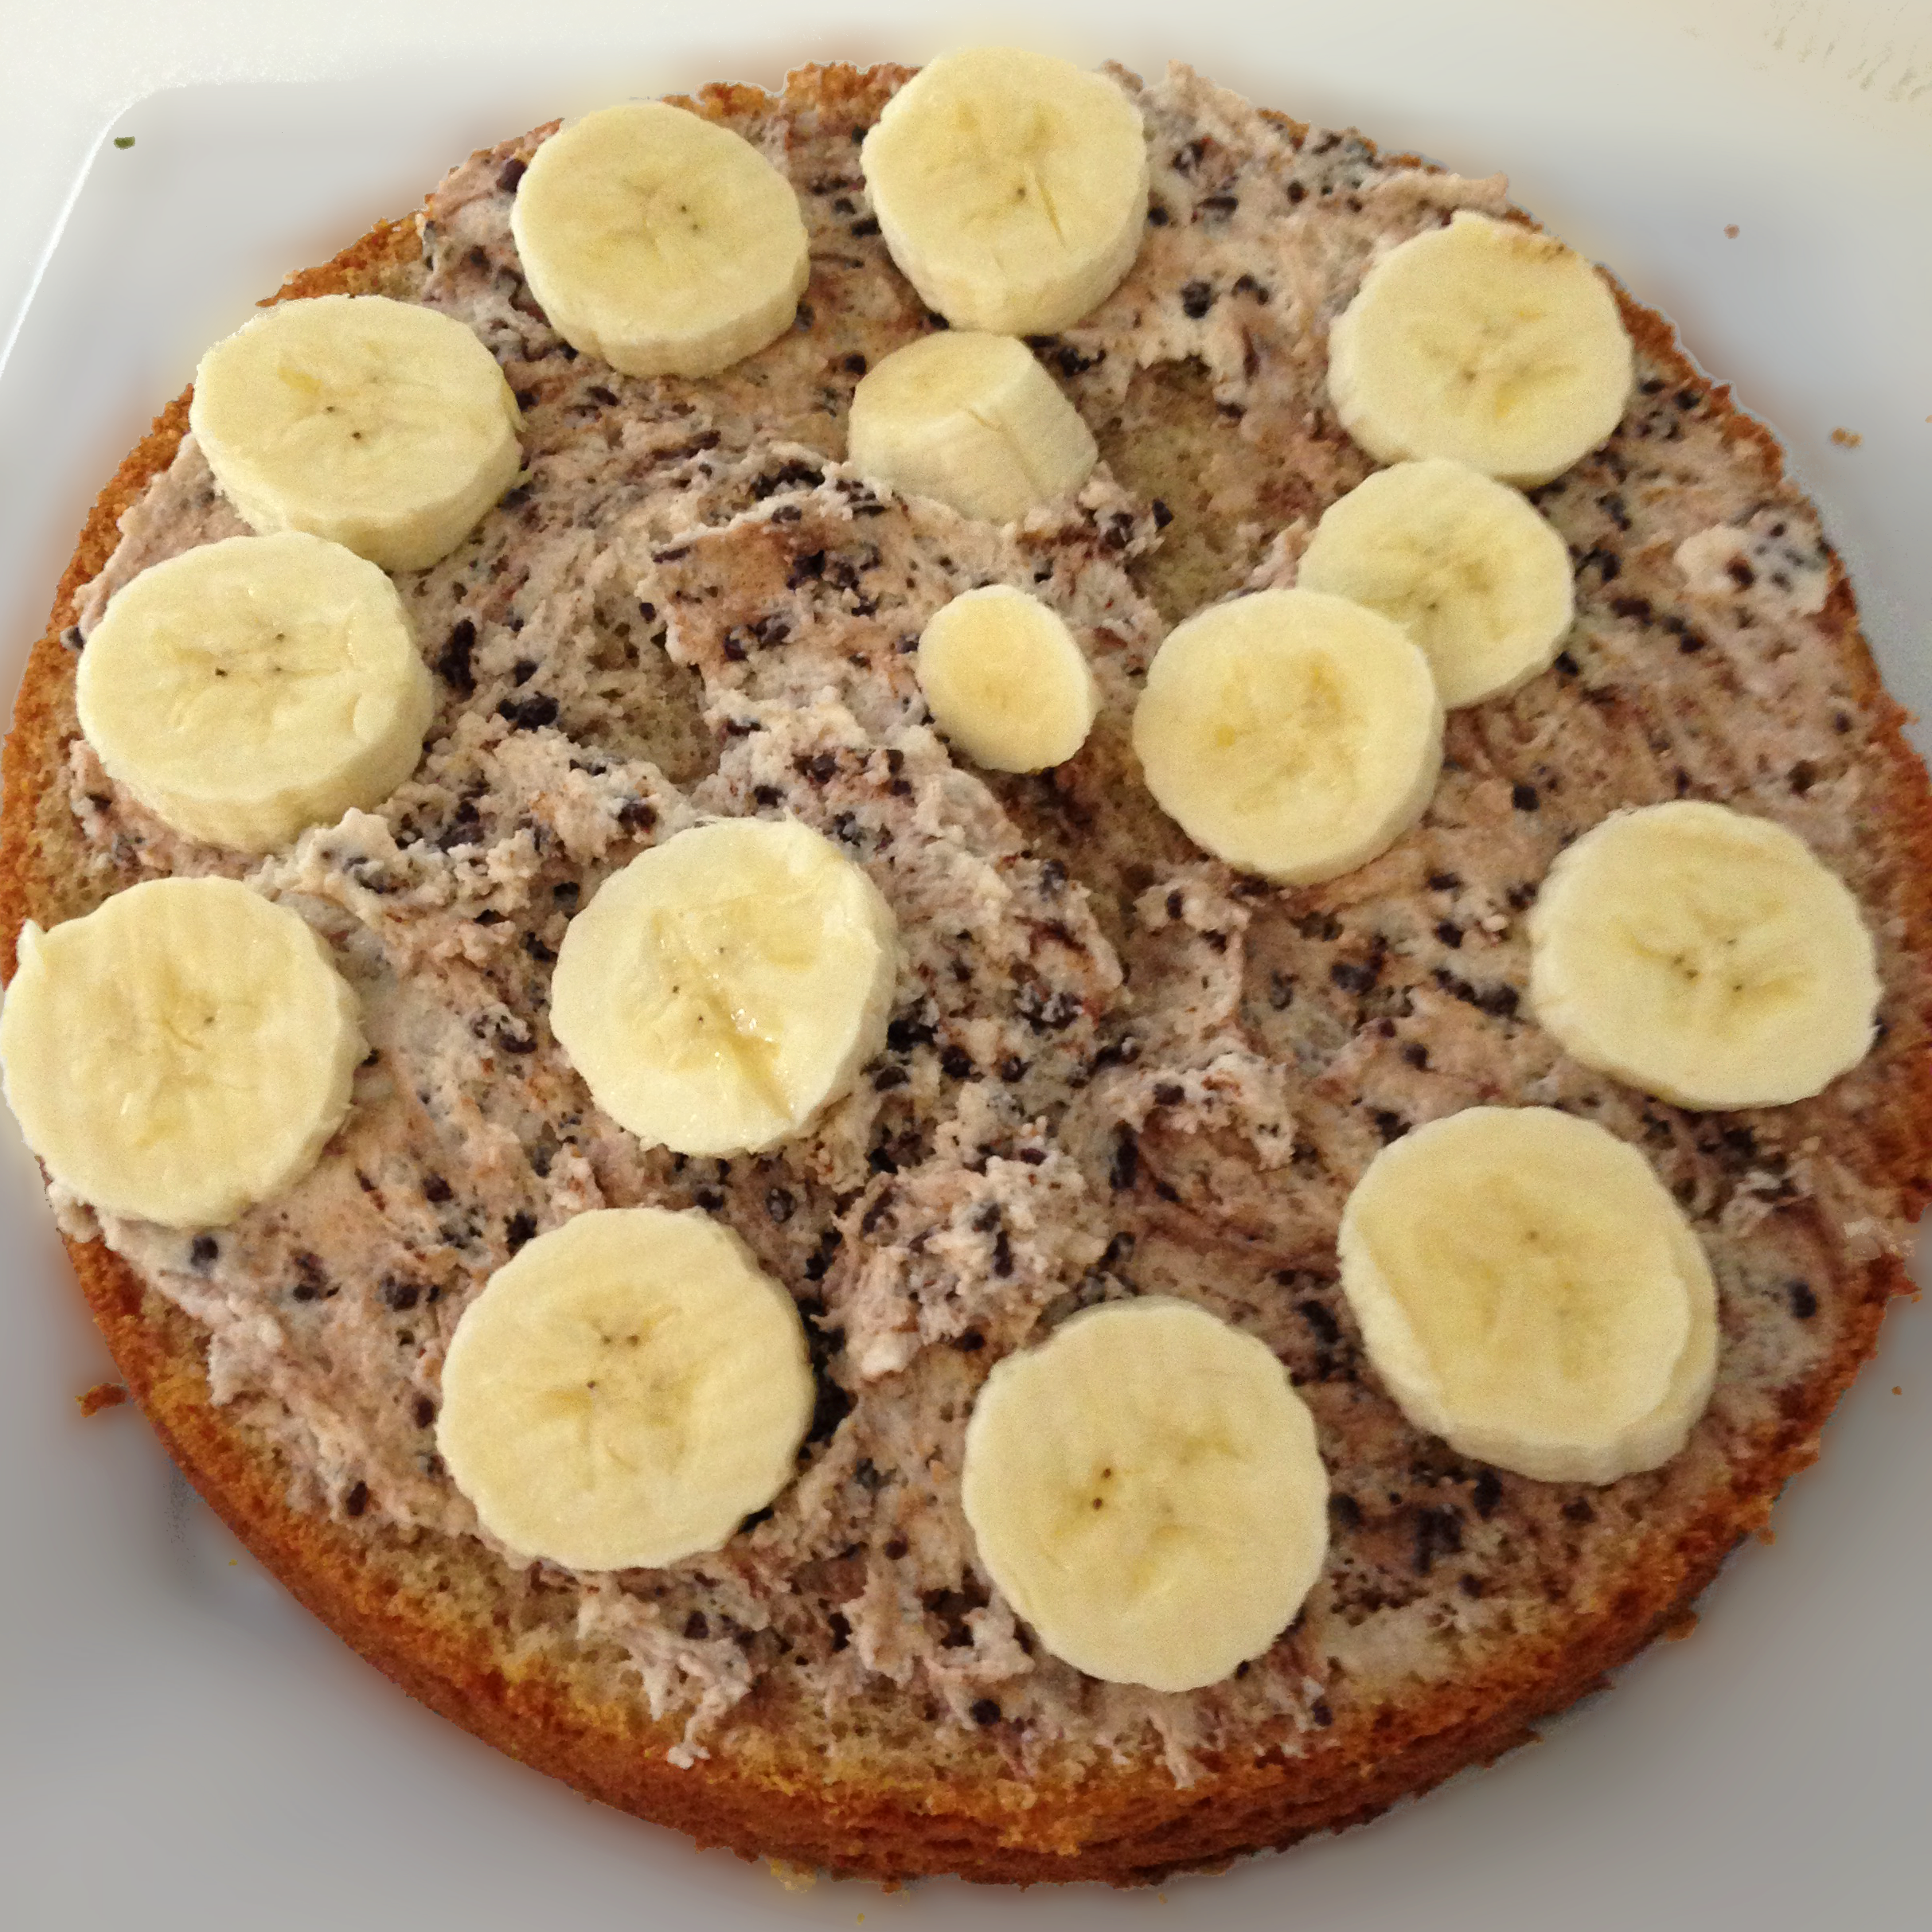
Step 1: Bake a cake for every tier you want to add to the final cake and cut each one in half. In this case I made a banana cake, you can find the recipe on my previous post here.

Step 2: Add the filling of your choice in the middle, it could be strawberries, banana, jam, chocolate etc. and add some frosting in between the filling, in this case I am using a cream cheese frosting, you can find the recipe here.
Step 3: Cover each cake with the frosting, make sure you don’t leave anything uncovered, the frosting will be like the glue for the fondant..

Step 4: Get a pack of fondant of the color of your choice and roll it as thin as you can, you should be able to take it with your hands without breaking it and place it on top of the cake covered in frosting.

Step 5: Cut the remaining fondant on the edges and place the cake in a tier cake stand base, you can buy some plastic stands made specially for tier cakes such as this one.
Step 6: Cover the base with fondant and start decorating the cake in the style of your choice. In this case I am doing the cars and train cake, so I am decorating the base as the highway for the cars.
 Step 7: Place the already made cars on top of the base and decorate the rest of the cake with a layer of green fondant to simulate the landscape.
Step 8: Cover the second cake in fondant in the same way and place it on the stand base of the corresponding size. Once you have it on the base, place it on top of the first level on the plastic sticks included on the stand. Decorate the second cake as you wish. In this case I added the colorful marshmallows and the back fondant dots to simulate the wheels. For the railroad i just added black fondant sticks.

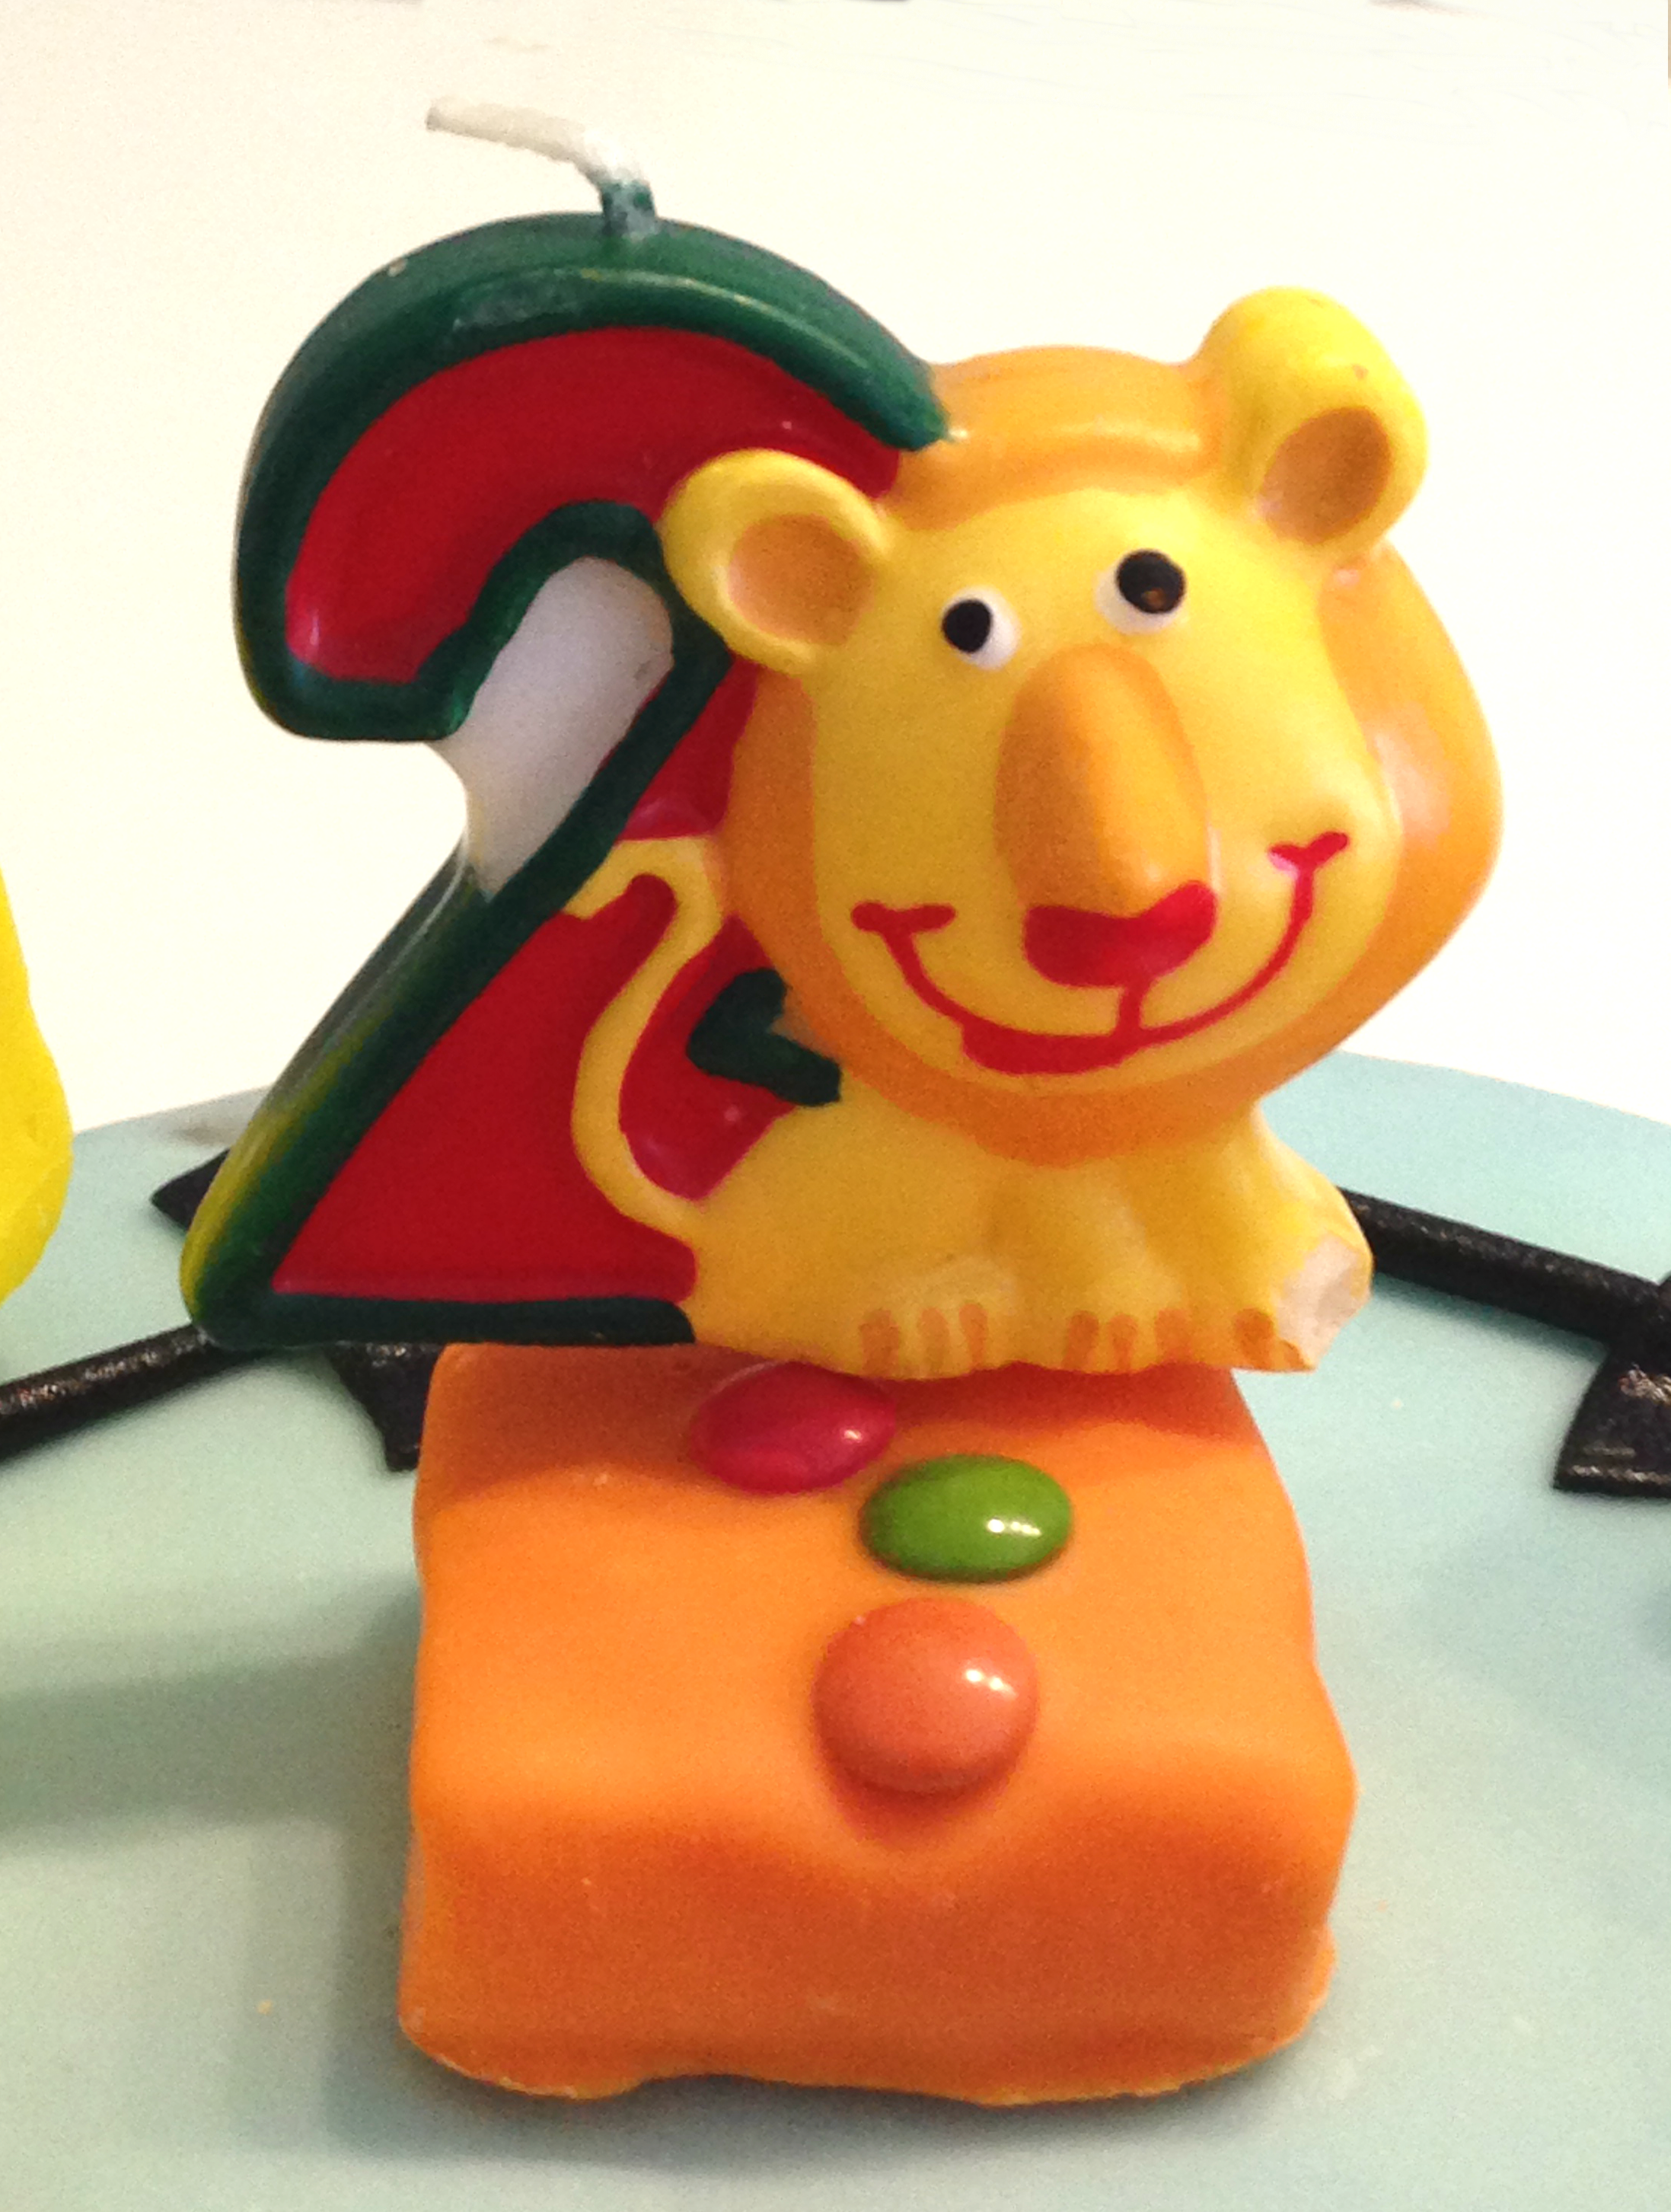
Step 9: Place the candle and your cake is ready!
The final result:


Leave a comment